Compressor
Step 1
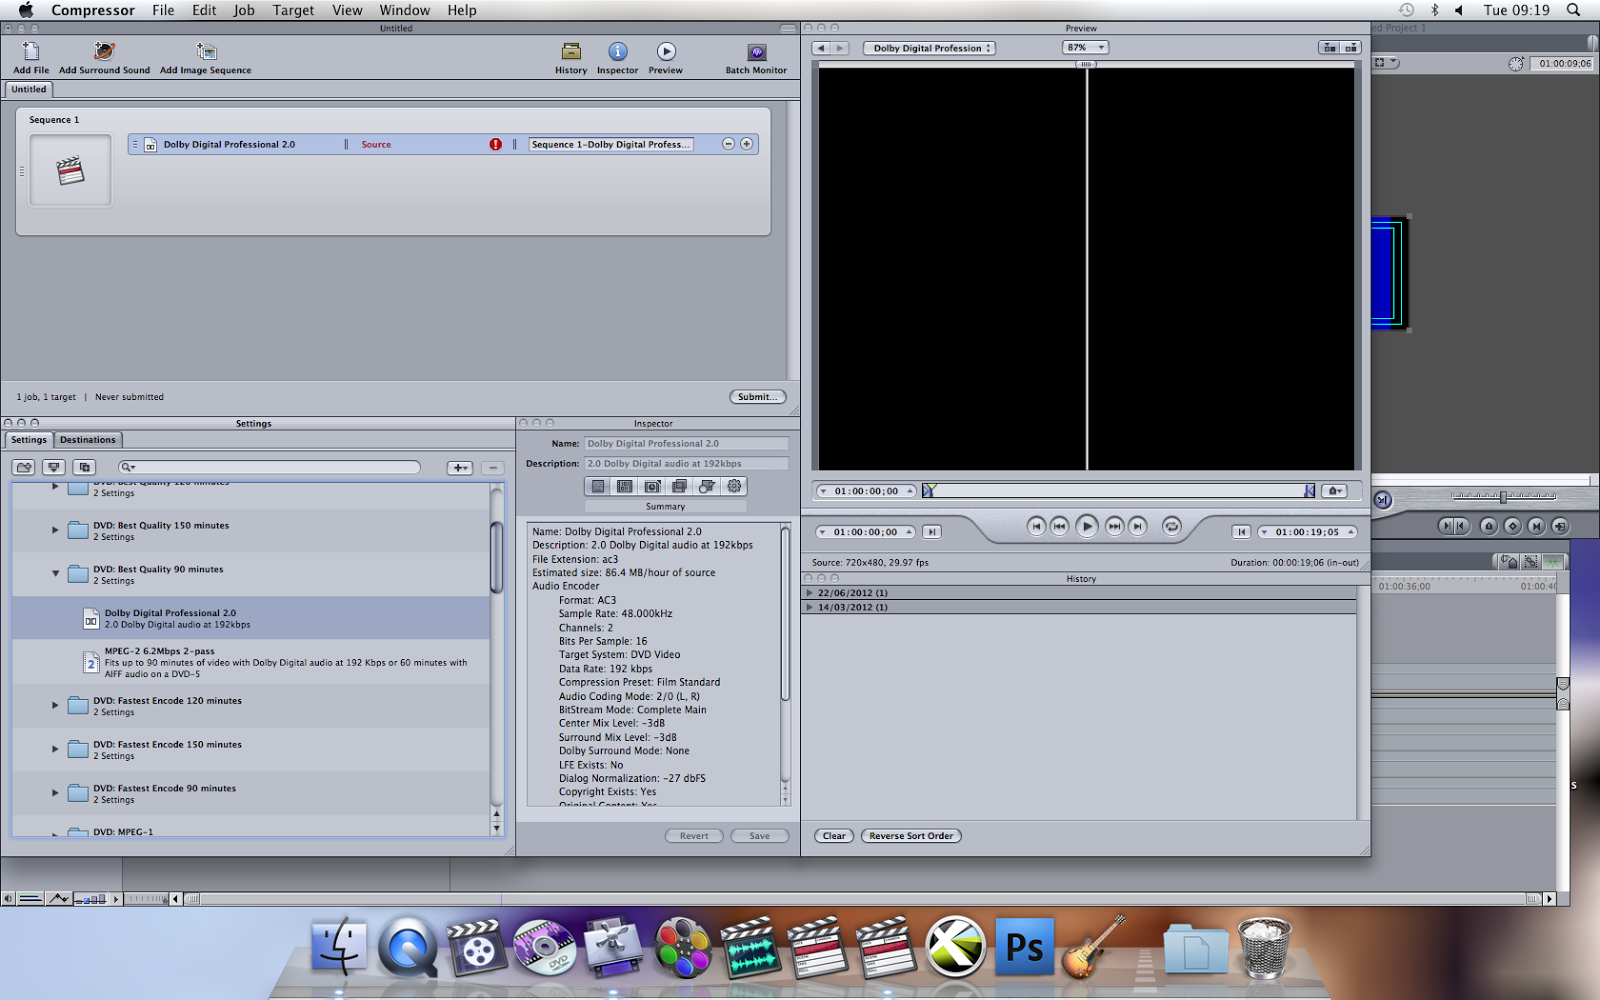
First of all we opened Final Cut Pro, clicked File, Send to, then clicked Compressor. When the Compressor opened we had to find a file called 'DVD:Best Quality 90 minutes' in Settings, when we found the file we had to click on it and as it expanded we could see two other files called 'Dolby Digital Professional 2.0' and 'MPEG-2 6.2Mbps 2-pass'. We clicked on 'Dolby Digital Professional 2.0' and dragged it up to Sequence 1.
First of all we opened Final Cut Pro, clicked File, Send to, then clicked Compressor. When the Compressor opened we had to find a file called 'DVD:Best Quality 90 minutes' in Settings, when we found the file we had to click on it and as it expanded we could see two other files called 'Dolby Digital Professional 2.0' and 'MPEG-2 6.2Mbps 2-pass'. We clicked on 'Dolby Digital Professional 2.0' and dragged it up to Sequence 1.
Step 2

After we dragged the file called 'Dolby Digital Professional 2.0 up to Sequence 1,we had to do exactly the same thing with 'MPEG-2 6.2Mbps 2-pass'.
Step 3
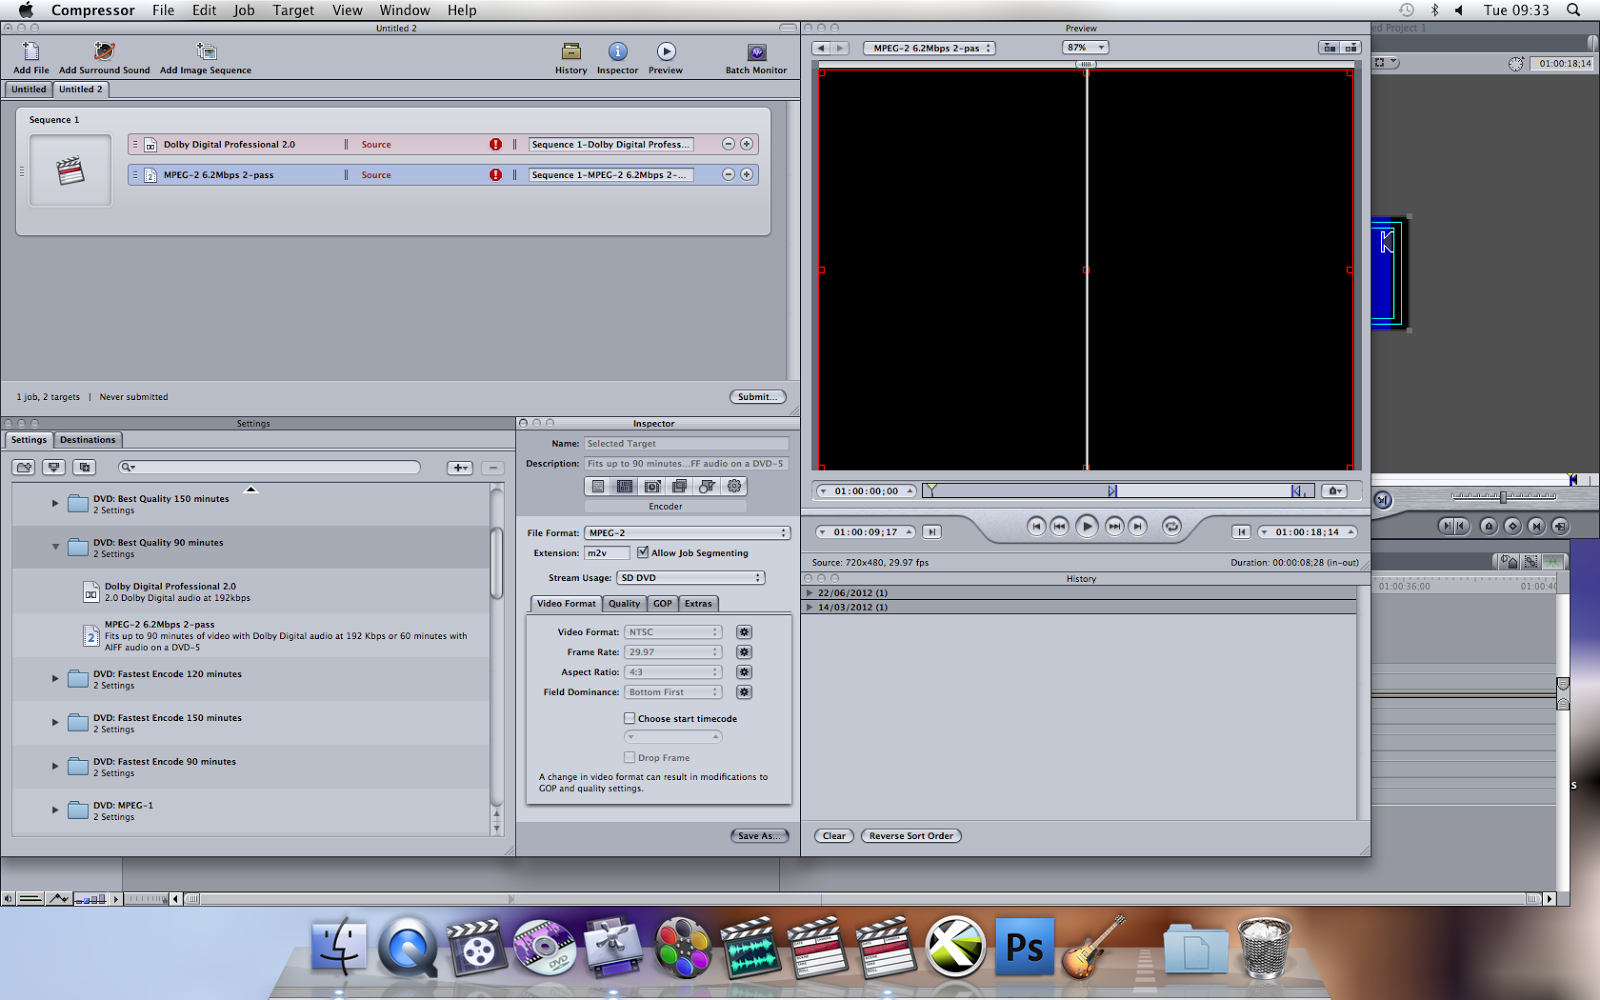
After we dragged both files up to Sequence 1 we then had to click on the second file in Sequence 1, and go to Inspector. Inspector allows you to change Video Format, Frame Rate,Aspect Ratio and also Field Dominance. First of all we changed the Video Format.
After we dragged both files up to Sequence 1 we then had to click on the second file in Sequence 1, and go to Inspector. Inspector allows you to change Video Format, Frame Rate,Aspect Ratio and also Field Dominance. First of all we changed the Video Format.
Step 4

Next thing we had to do was click on Stream Usage to make sure that the Stream usage is SD DVD.
Step 5

We then clicked on Video Format as we had to change it from NTSC to PAL. As we changed the Video Format to PAL, we could see Frame Rate automatically change from 29.97 to 25. We also had to change the Field Dominance from Bottom First to Top First.
Step 6

We then clicked Quality in 'Inspector'. Quality option allows you to change the Mode, Average Bit Rate, Maximum bit Rate, and Motion Estimation.
Step 7

We had to choose Mode:Two pass VBR Best,as it is the best and it goes through every field and makes sure the quality is the best when it compresses the file, although the only problem with Two pass VBR Best mode is that it's slow and it takes a long time to compress. After we checked that our Mode is Two pass VBR Best, we had to change the Average Bit Rate from 6.2 to 6.8Mbps we also had to change the Maximum Bit Rate from 7.7 to 8.0Mbps. Motion estimation had to be: Best.
No comments:
Post a Comment